NEW | Atlassian Rovo Studio

Rovo Studio es la nueva solución presentada por Atlassian, que permite a los usuarios crear agentes de Inteligencia Artificial, automatizaciones y aplicaciones personalizadas utilizando opciones con o sin código. Está diseñada para facilitar la creación de soluciones de IA adaptadas a las necesidades específicas de cada equipo, sin requerir conocimientos técnicos avanzados.
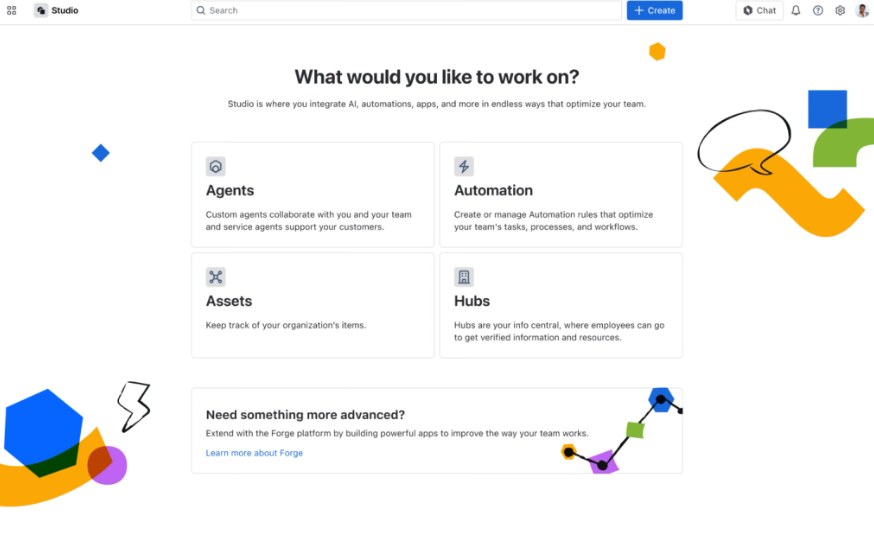
¿Qué se puede hacer con Rovo Studio?
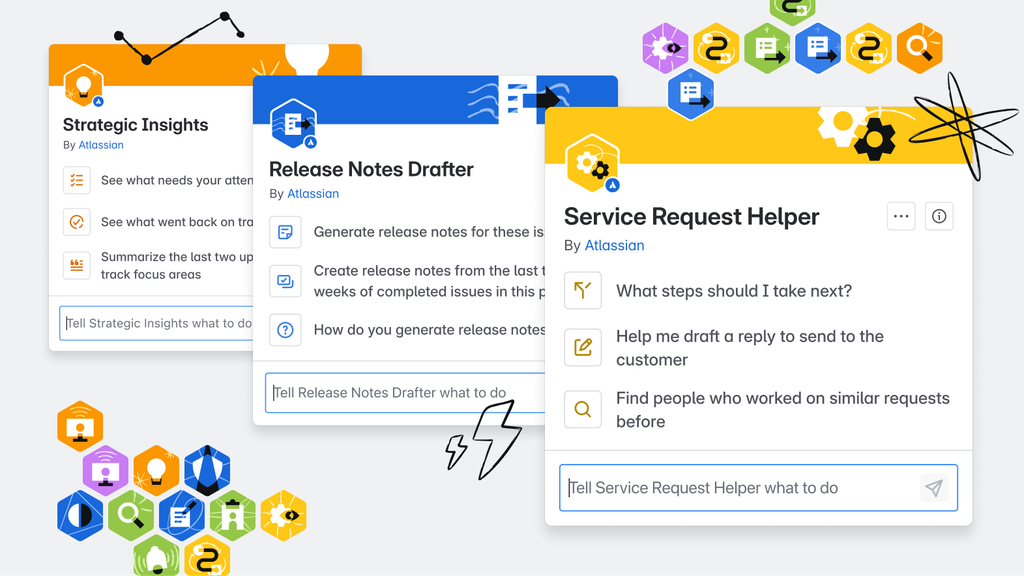
1. Crear Agentes de IA Personalizados
Los agentes de Rovo son asistentes de IA que pueden configurarse para realizar tareas específicas, como responder preguntas frecuentes, automatizar flujos de trabajo o proporcionar soporte al cliente. Estos agentes pueden integrarse con herramientas de Atlassian como Jira, Confluence y Jira Service Management, pero también realizar acciones sobre otras herramientas SaaS de la compañía. Desde Rovo Studio, puedes acceder a la creación de agentes de forma directa.
2. Automatizar Procesos
Con Rovo Studio, es posible crear reglas de automatización que desencadenen acciones específicas en función de eventos o condiciones predefinidas. Esto ayuda a reducir tareas manuales y repetitivas, permitiendo a los equipos centrarse en actividades de mayor valor. Se convierte en el centro de actuaciones desde el cual crear y modificar cualquier regla de automation creada en la instancia.
3. Gestionar Activos
La funcionalidad de «Assets» permite a los equipos gestionar y rastrear activos y elementos de configuración dentro de Jira Service Management. Esto proporciona visibilidad sobre las dependencias y ayuda a minimizar riesgos durante los cambios o incidentes. Desde Rovo Studio podremos crear directamente los esquemas de objetos que nos hagan falta para configurar y poblar correctamente nuestra CMDB.
4. Crear Hubs de Información
Los «Company Hubs» son espacios centralizados donde los equipos pueden acceder a información verificada y recursos internos. Esto facilita la colaboración y asegura que todos los miembros del equipo tengan acceso a la información más actualizada. Algo así como una intranet, creada sobre la base de Confluence.
¿Cómo empezar con Rovo Studio?🚀
Para comenzar a utilizar Rovo Studio, sigue estos pasos:
-
Accede a Rovo Studio: Desde cualquier aplicación de Atlassian, haz clic en el selector de aplicaciones en la esquina superior izquierda y selecciona «Studio».
-
Configura los Permisos: Asegúrate de tener los permisos necesarios para crear agentes o automatizaciones. Es posible que necesites ser administrador de proyecto, sitio u organización.
-
Activa la IA: Tu administrador de organización debe activar la funcionalidad de IA para las aplicaciones que deseas utilizar con Rovo.
-
Crea tu Primer Agente o Automatización: Utiliza las plantillas y herramientas disponibles en Rovo Studio para crear agentes de IA o reglas de automatización adaptadas a tus necesidades.

¿Qué es lo más útil de Rovo Studio?
Rovo Studio destaca por su capacidad para empoderar a los equipos a crear soluciones de IA personalizadas sin necesidad de conocimientos técnicos avanzados. Esto democratiza el acceso a la Inteligencia Artificial y permite a los equipos optimizar sus procesos de manera eficiente.
Además, la integración con herramientas populares de Atlassian y otras aplicaciones SaaS permite una experiencia fluida y coherente en todo el ecosistema de trabajo.
Si de todas formas hay cosas que no ves claras o quieres un poco de ayuda para empezar, avísanos 😇